From Outdated Wet Bar to Dream Laundry Room: A DIY Transformation
If you've ever looked at an old, outdated area of a home that you’ve purchased and wondered how on earth it fits into your modern lifestyle, you're not alone. We recently found ourselves in the same boat. Our home had a wet bar, straight out of the 80’s, that was taking up prime real estate in a spot that could be put to much better use for our family. So, we decided to say goodbye to the wet bar and hello to a brand-new laundry room that would not only be gorgeous but also functional for our family.
Click here to see most of the decor I used to update this space.
Here’s how we did it!
Step 1: Closing the Old Wet Bar Opening
The first step was to close off the current opening to the wet bar, which was located in the front entryway of our home. We added wall studs and drywall to seal it off. This created a solid foundation for what would soon be our new laundry room. We planned for the new door to be off the living room, exactly where the wet bar window used to be.
Step 2: Creating the New Doorway
Next, we cut the opening for the new door off the living room. This was a relatively easy task since the wall we were demolishing wasn’t load-bearing. Once the new doorway was in place, we drywalled the old wet bar opening to give the laundry room more privacy and make it feel like its own space.
Step 3: Patching, Priming, and Little Helpers
With the doorways sorted, it was time to patch and prime the newly added drywall. This meant lots of drywall mud and sanding. Thankfully, we had some great little helpers who made this part more fun and less tedious!
Step 4: Laying the LVP Flooring
We wanted the laundry room flooring to seamlessly match the rest of the house, so we laid down luxury vinyl plank (LVP) flooring. It lined up perfectly with the LVP we had already installed in the rest of the house, making the transition into the new laundry room flawless.
Step 5: Moving the Laundry Hookups
This step was a bit more complex as we needed to remove a large section of drywall to move the laundry hookups. We tackled the plumbing and electrical for the washer, as well as the electrical and outside ventilation for the dryer. With some elbow adapters, we rerouted the PVC plumbing and used PEX tubing to connect the hot and cold water to the new washer hookups. We flipped the existing outlets from the old laundry room to the new one, making sure they were still on a dedicated breaker for safety.
Step 6: Recycling Kitchen Cabinets
Remember those cabinets we removed during our kitchen remodel? Well, they found a new home in the laundry room! We installed them for overhead storage, proving that recycling cabinetry is not only eco-friendly but also cost-effective.
Step 7: Installing the Utility Sink
We decided to keep the plumbing but update a small utility sink from the old wet bar. Installing a new 12-inch cabinet for a new deep well sink that we ordered was a breeze, and it’s turned out to be one of the best things to come out of that old, water-damaged wet bar area.
Step 8: Crafting a Custom Countertop
To give the space a touch of custom craftsmanship, I built a countertop for the sink out of red oak. I also created a floating shelf above the washer and dryer with a waterfall edge that extends down to the sink. It’s perfect for storing laundry pods and adding some decorative touches. Several coats of polycyclic later, and the oak looked just as I had imagined—stunning!
Step 9: Painting the Cabinets
For the cabinets, I used Benjamin Moore’s “Gentleman’s Gray,” which is a rich, deep navy blue. It’s the same color we used for our bedroom accent wall, and it added just the right amount of color and sophistication to the laundry room. (The girls even wanted to pitch in - I let them use whatever was left in the brush and roller to pain the lower wall that would covered with beadboard later.)
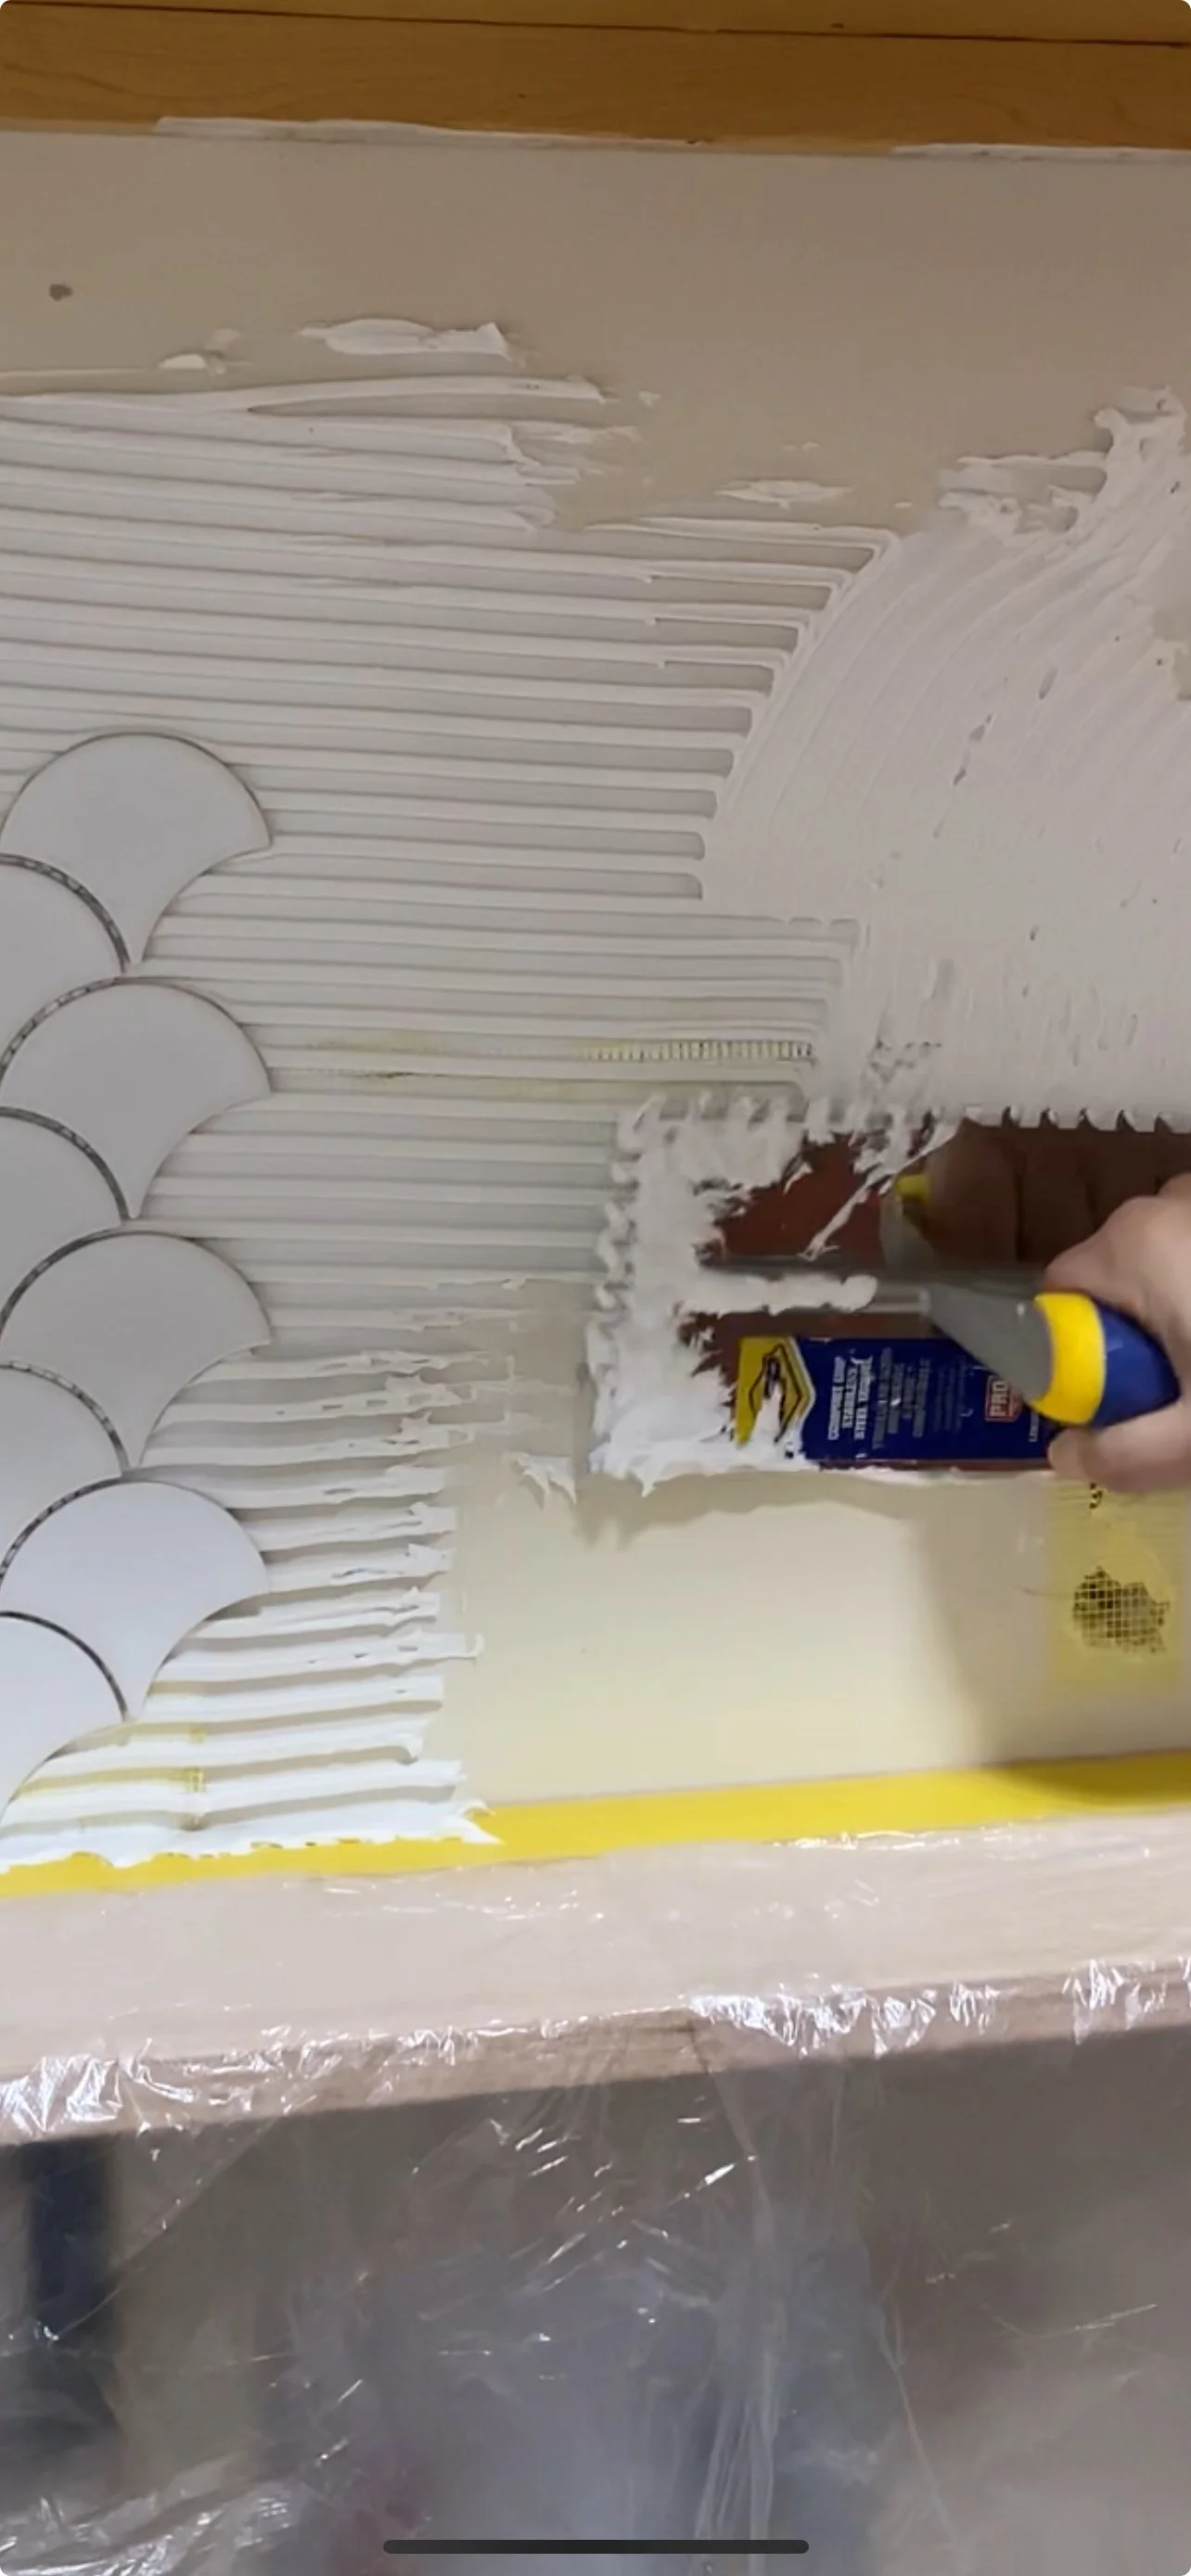
Step 10: Tiling the Wall
To create a focal point behind the washer and dryer, I tiled the wall. This not only added visual interest but also made the space feel more complete. Once the tiling was done, we hooked up the washer and dryer, and just like that, we had a functional laundry room!
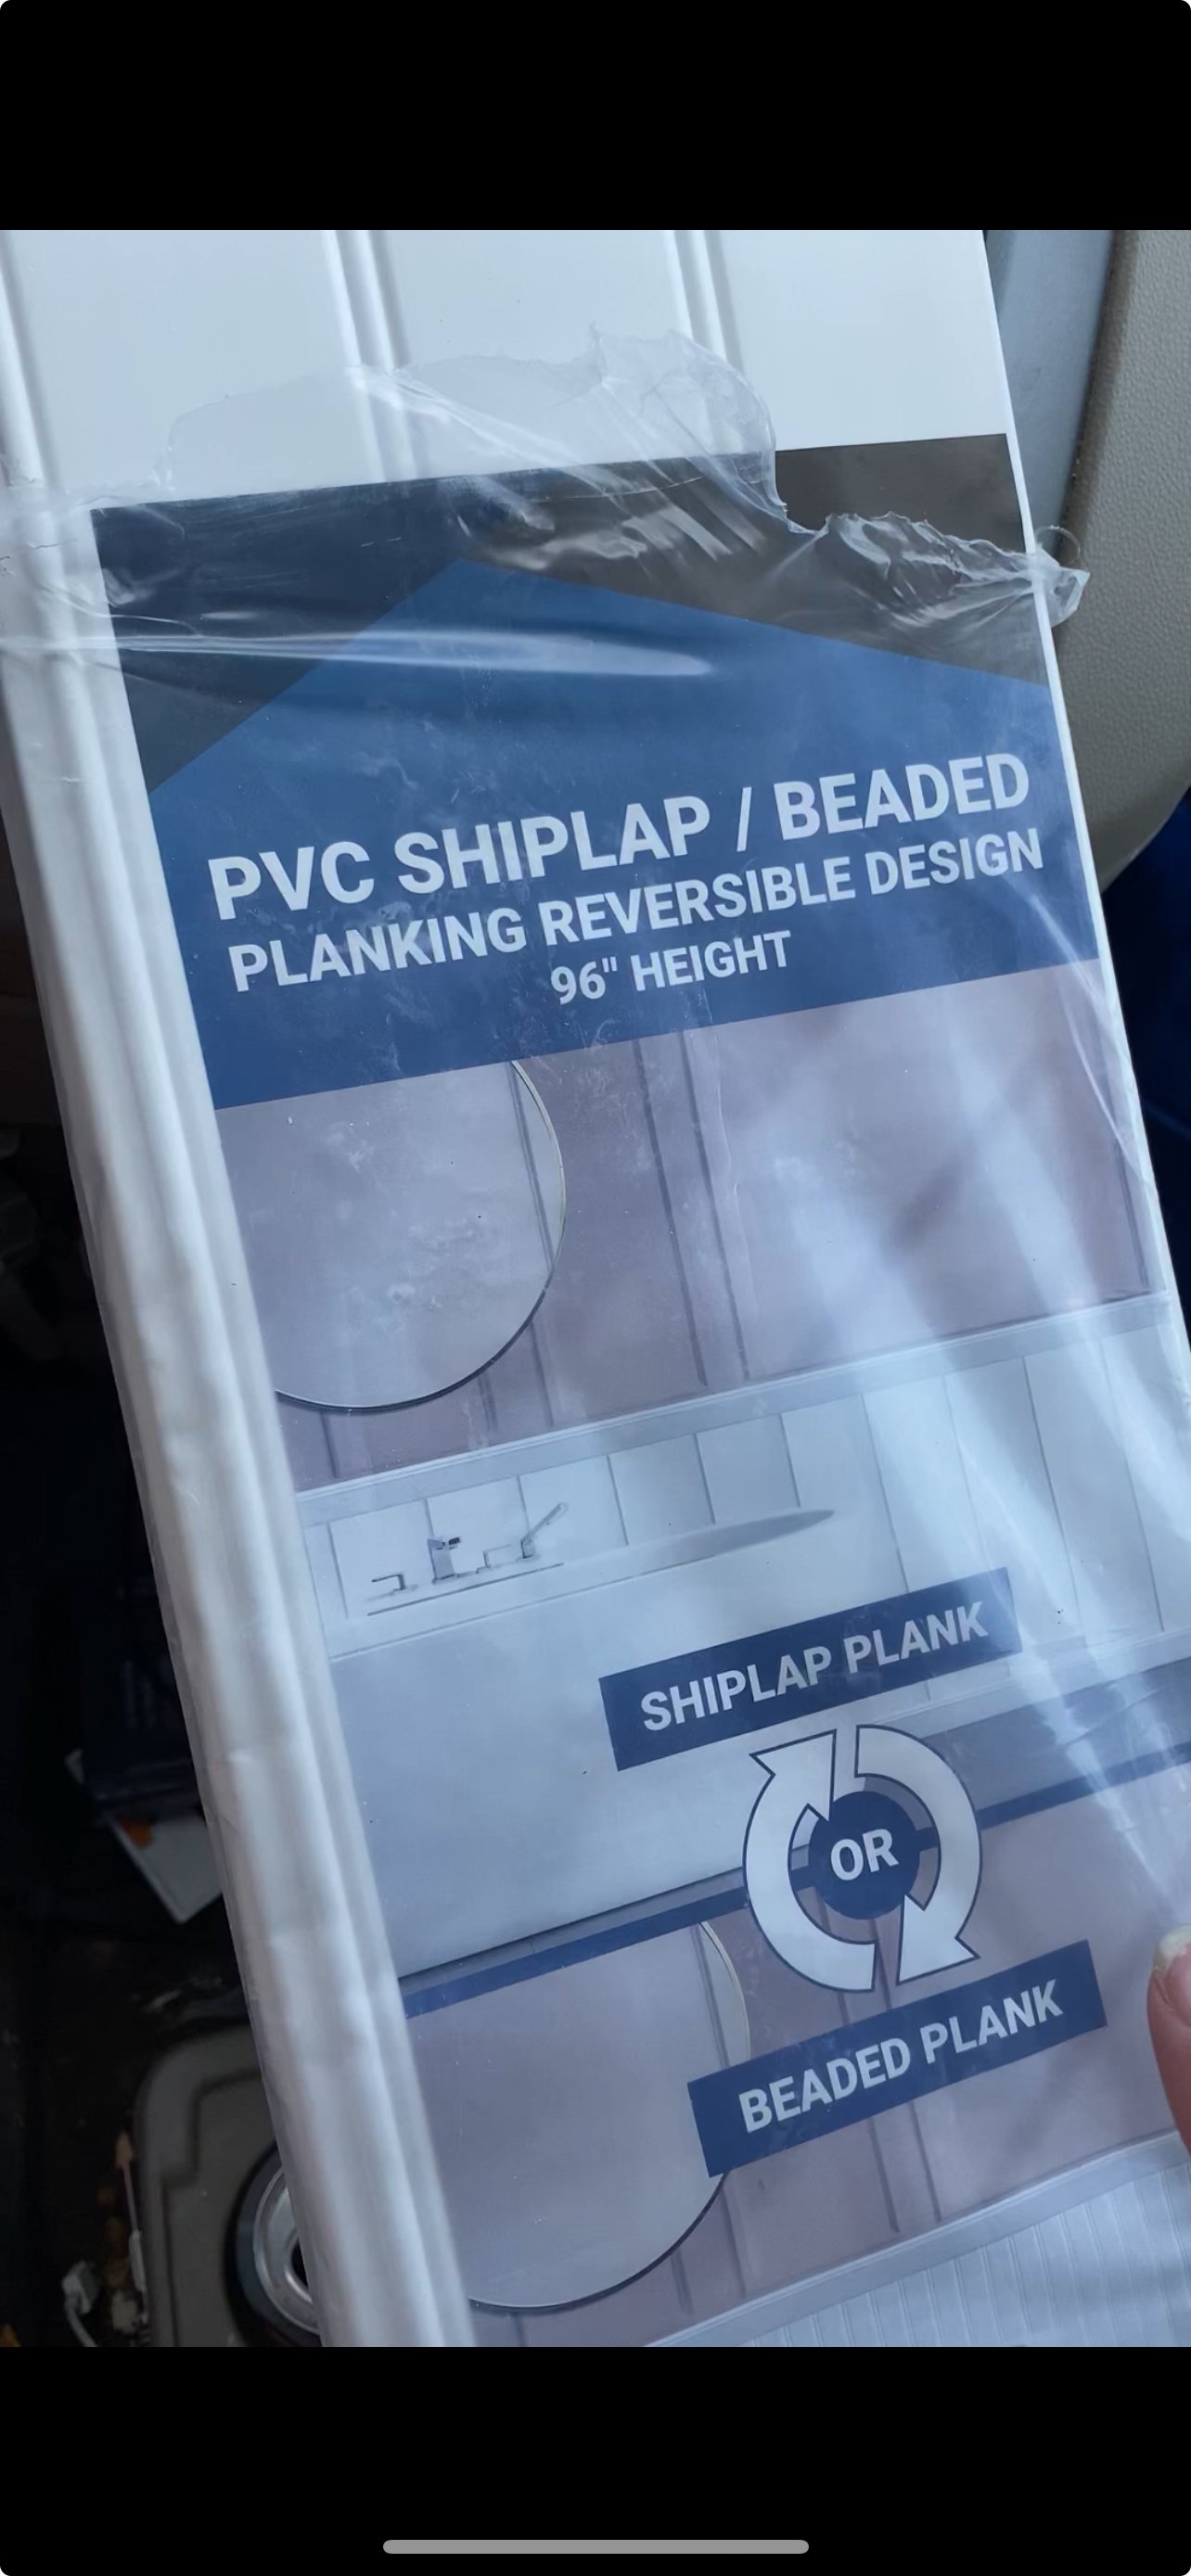
Step 11: Installing Beaded Planks
For the lower portion of the walls, we installed PVC Beaded Planks. These are fantastic because they’re reversible, giving you the option of beaded planks or shiplap planks. PVC is also the best choice for any room where water might splash on the walls, like a laundry room. To finish off the look, we added pine panel molding to the top of the planks for a clean, polished finish.
Step 12: Adding the Finishing Touches
With the major construction done, it was time to add the finishing touches. We installed a hanging bar above the dryer, a faucet for the utility sink (which Tim is absolutely in love with), brass swag hooks for some cute hanging plants, some accent hooks for coats and wash-towels, and a few other decorative elements to tie the room together.
Step 13: The Big Reveal
And just like that, we were done! What was once an outdated wet bar is now a beautiful and functional laundry room that fits perfectly with the layout of our home and meets our family’s needs. This transformation has not only enhanced the functionality of our space but has also added a touch of personal style that makes doing laundry just a little more enjoyable.
So, if you’re wondering what to do with an outdated or unused area of your house (or if you just so happen to have a 1980’s wet bar as well), consider transforming it into something that adds real value to your home and your daily life. Trust me, you won’t regret it!


